CHEM 281 LAB. Hand Out for FTIR.
Click
here for theory on IR spectroscopy
How to Run Mattson Instruments Genesis II FT-IR Instrument
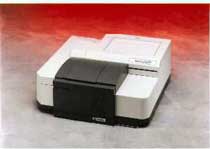

Description of Instrument
Mattson Instruments Genesis II FTIR spectrometer system designed for routine
sample analysis in the QA/QC environment. The Genesis II is the next generation
in the Genesis Series and incorporates the best design features of the original
system; including it's ease-of-use, compact size, ruggedness and reliability.
New advanced electronics on the Genesis II provide higher signal to noise ratio
and additional scanning velocities; improving system performance and sampling
time. The Genesis II features 1 cm-1 resolution in either near or
mid infrared configurations with the choice of room temperature (which we have)
or liquid nitrogen cooled detectors. If higher spectral resolution is needed,
0.50 cm-1
resolution is available as an option either at time of system purchase or
later. For easy access, a new sample hatch was added to the sliding sample
compartment cover. A user changeable detector is now standard extending the
ease of system maintenance.
Genesis II FTIR spectrometer is compatible with all standard sampling
techniques for powders, liquids and gases to provide additional flexibility.
The optional Genesis Validator software provides full IQ, OQ and PQ validation
for laboratories subject to regulatory review.
Procedure:
-
Sign on the log book.
-
Turn on the computer.
-
Turn on the FTIR Spectrometer switch at the back of the instrument.
-
On the computer screen "Cancel" the login to network option.
-
Load Win1st by clicking on the blue icon
 on
the screen following screen will apper.
on
the screen following screen will apper.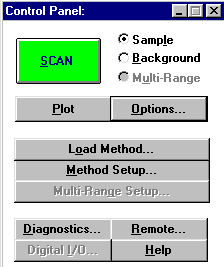
-
Click on Load method and select upali.ini file and press ok!
-
Then press method setup if you need to change number scans (normally below 25)
or press advanced to change scan range (400-4000 default) .

-
Go back to control panel and select background radial button. After making sure
nothing is in the sample path press SCAN. Answer ok to questions and background
will be displayed!
-
The go back to control panel and select sample and place sample in the beam path
and press SCAN.
-
The data display window will appear automatically at the end of the scans and
you are ready to work on the spectrum; labeling the spectrum and annotating the
spectral values to peaks,
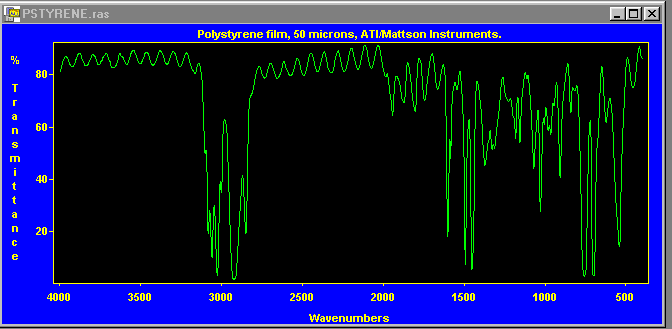
-
Go to tools in main menu and select annotate:

-
Go to math in the main menu and select peaks and select threshold and stretch
the rubber band where you want the threshold to be by selecting two points.
Peaks will be labeled. To place text on the spectrum click on the top first
button on the right and press ok. Then you can enter you text any where on the
the spectrum.
-
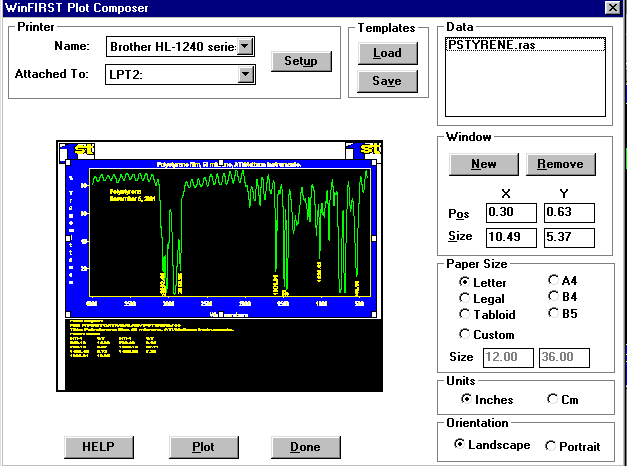
Then press go to file in the main menu and select plot to print the spectrum.
-
Select the printer and press plot.
-
To save your data file go to file in the main menu and select save sample and
select a name and drive and press ok!
-
Once you are finished with the instrument exit from WIN1st software, remove all
samples from sample chamber and turn off the FTIR spectrometer. Please sign off
on the log book. Thnaks!